Gas struts to open the pop-top roof – T4 Westfalia California
With two 82 cm gas struts the California roof opens and closes with one hand, even with a load on the roof rack.
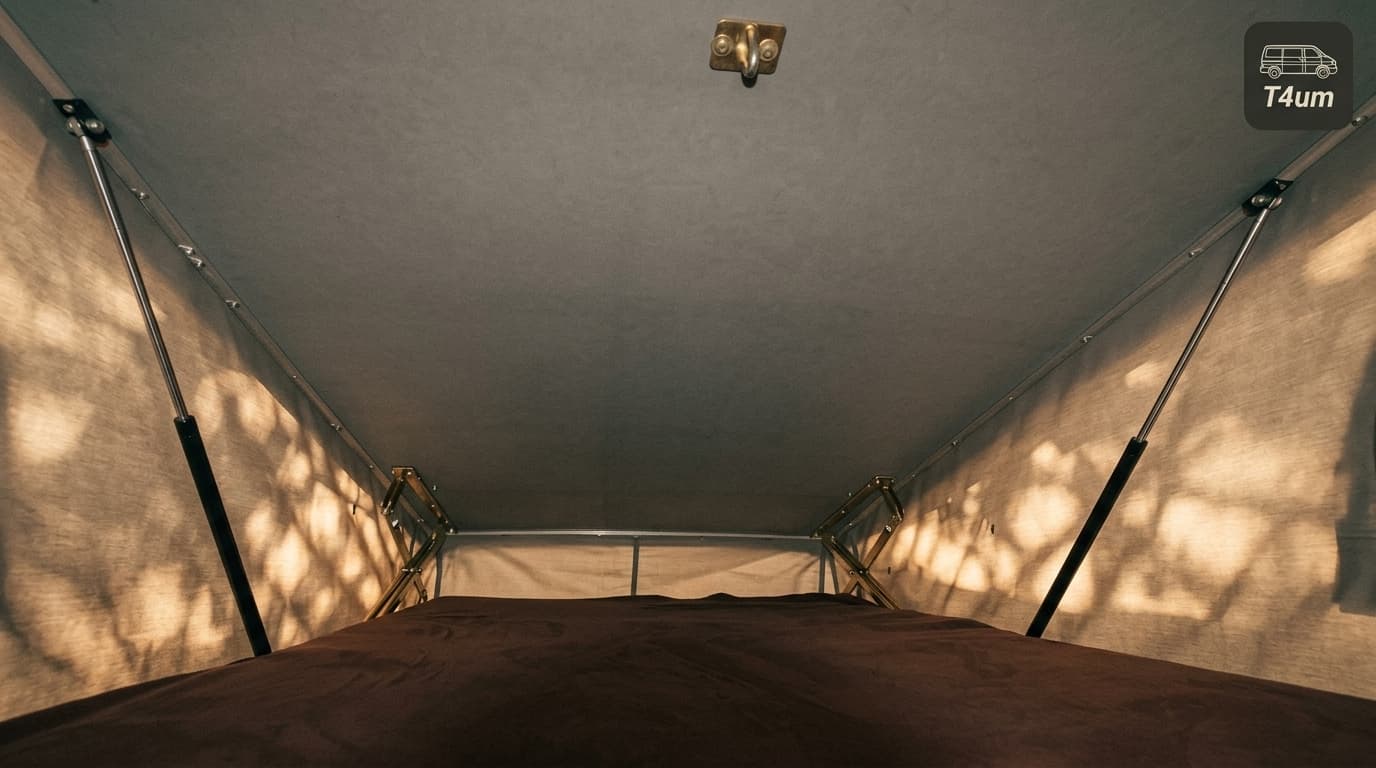
On the California the pop-top roof is opened by hand, using the scissor hinges and the H-shaped brackets at the front. With a load on the roof, or with the van parked on a slope, lifting it becomes hard work. The solution is to add two gas struts, similar to the ones that hold up the tailgates of cars.
Guide based on the modification made by Giovanni Pidello and Max of the T4UM Camper's Club, revised and updated for t4um.it.
At a glance
| Item | Details |
|---|---|
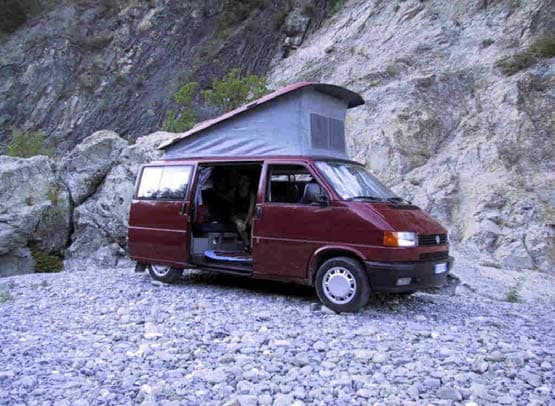
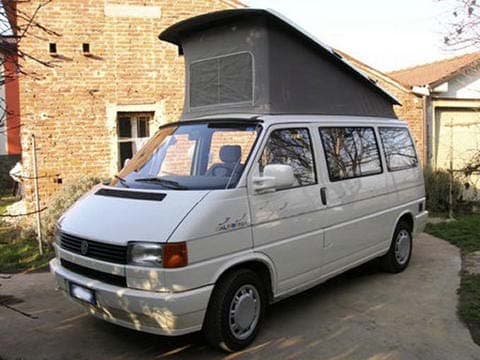
| Models | VW T4 Westfalia California |
| Time | About an hour |
| Cost (at the time) | About €20 for used struts + €8 for brackets |
| Difficulty | Easy: you need a drill, a screwdriver and some precision with the measurements |
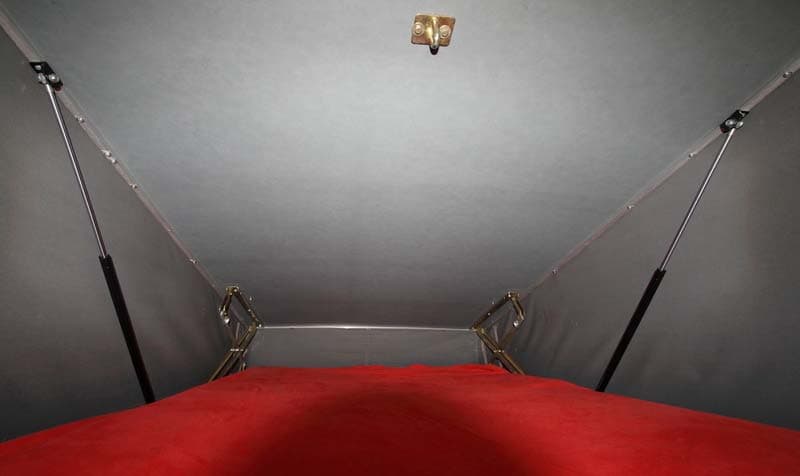
What you need
- 2 gas struts of about 82 cm, the tailgate struts from the Opel Tigra A (1995). They are the only ones long enough: shorter struts would have to be fitted too close to the scissor hinges.
- 4 L-shaped brackets, chosen according to the type of end fitting on the struts (see the next section).
- Self-tapping screws: thicker ones for the lower brackets, thinner ones for those on the roof.
- Bolts with nylon-insert lock nuts and washers, if you use eyelet ends.
- 1 mm and 1.5 mm metal drill bits: get 5 or 6, they break easily.
- Drill and screwdriver.
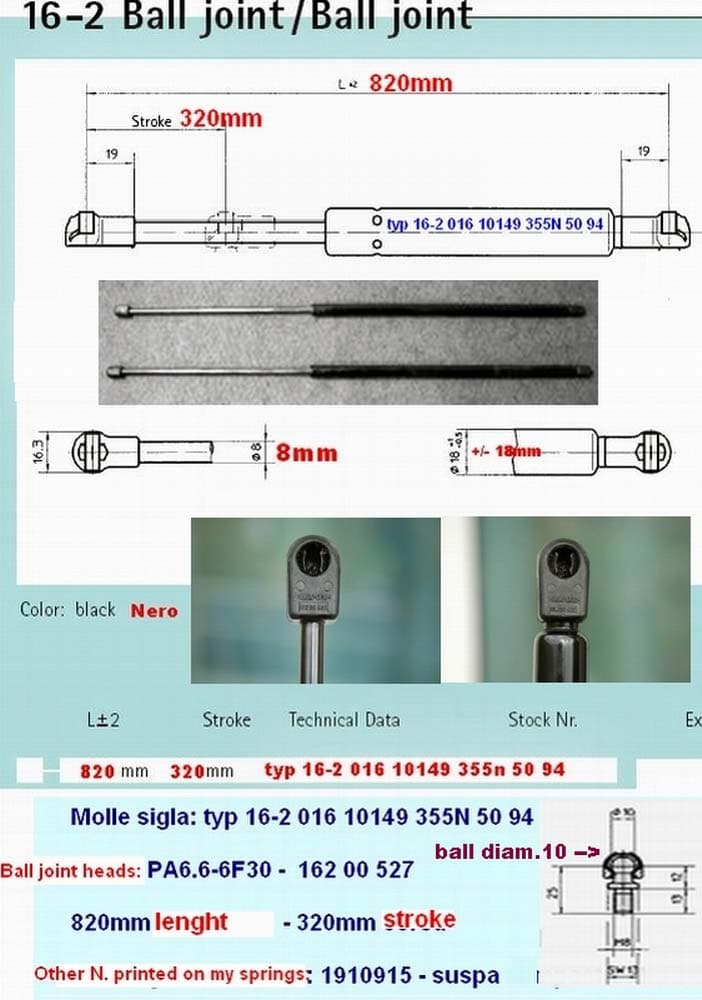
| Opel Tigra A strut data | Value |
|---|---|
| OE numbers | 132 726 · 132 733 · 55 35 95-91 |
| Length (extended) | 828 mm |
| Closed length, centre to centre | 50 cm |
| Stroke | 250 mm |
| Force | 355 N |
Compatible struts of the same length and with a force of around 355 N will also do.
The two mounting options
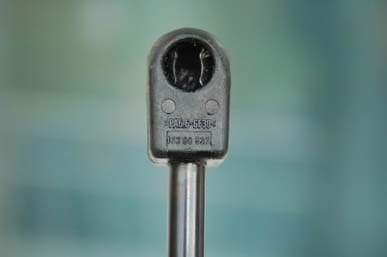
The type of bracket depends on the end fittings of the struts you find: a through eyelet or a 10 mm ball joint.
Option A – eyelet end
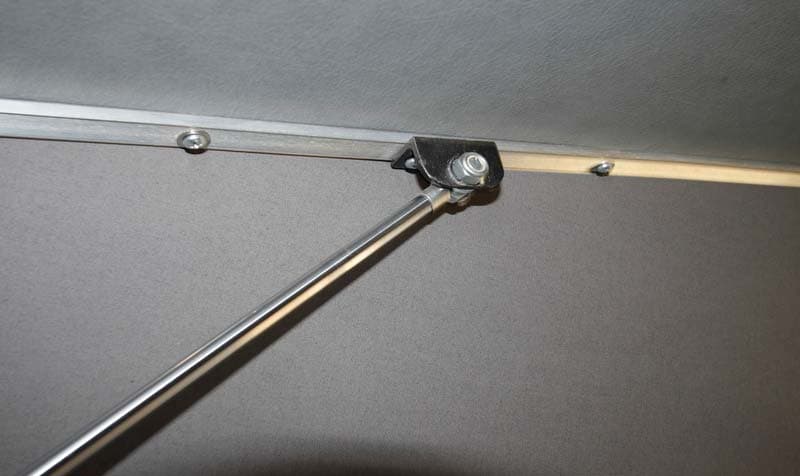
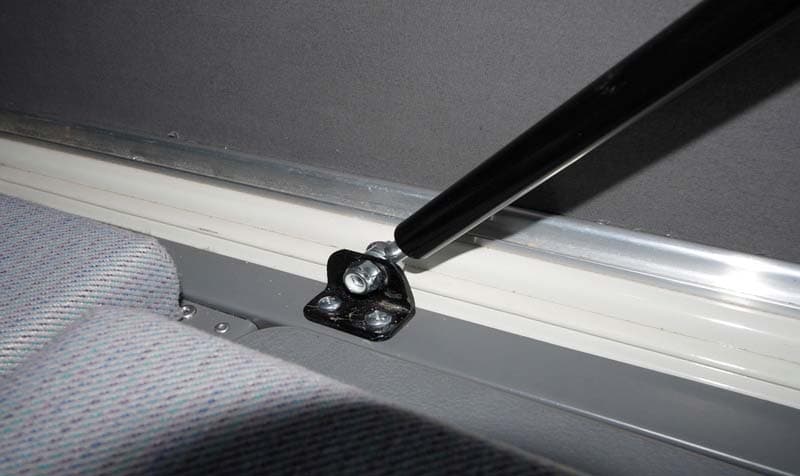
You use struts with an end drilled right through and, as mounts, the L-shaped brackets that usually act as end stops at the bottom of roller shutters. The strut is fixed to the bracket with a bolt and lock nut; the bracket is screwed to the camper with self-tapping screws.
Option B – 10 mm ball joint
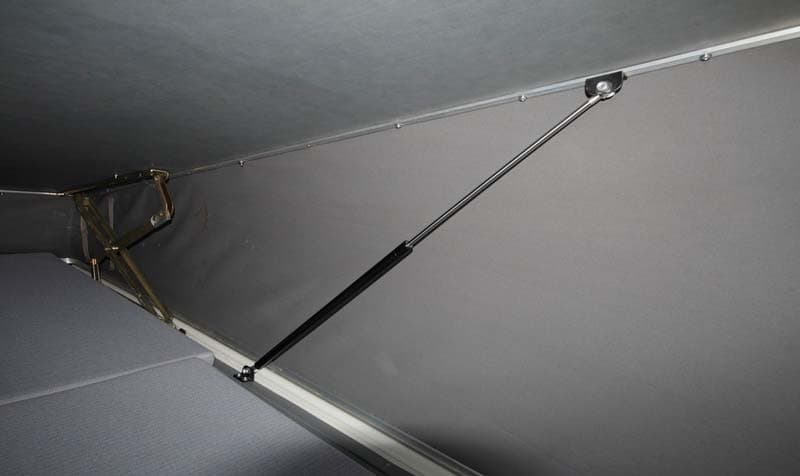
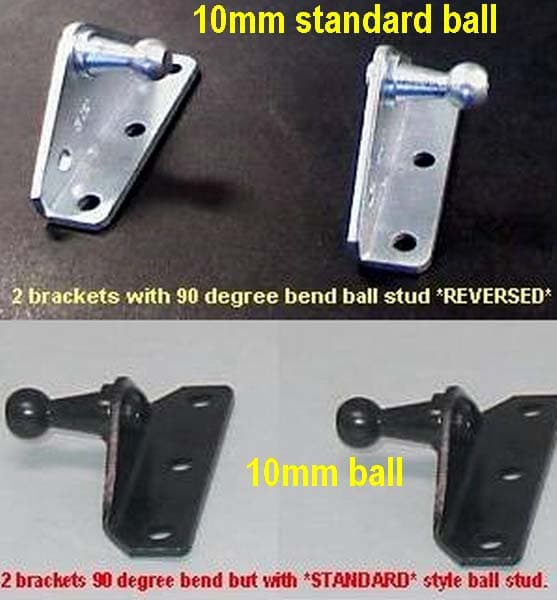
If the struts have the standard 10 mm ball joint, you need L-shaped brackets with a ball stud. The ball can be on the inside or the outside of the bend: the original modification used two of each.
Where to position the struts
There are no fixed measurements to copy: the position comes from the strut you have in your hand.
Not all Tigra A struts have the same ratio between rod and body. With a shorter rod, measurements taken from another camper can stop the roof from closing fully.
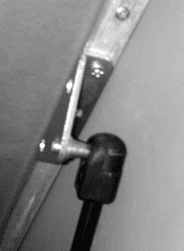
- Lower mount: the bracket goes right against the foot of the rear scissor hinge, up against the gold-coloured plate at its base.
- Upper mount: with the roof fully raised and the strut fully extended, mark where its end falls on the roof profile. Fix the bracket 5 mm further back, towards the scissor hinge, so that the strut always stays slightly compressed and still pushes with the roof fully open.
When the job is done, close the roof slowly and check that the strut does not reach the end of its stroke: if it were forced, it would pull on the screws and could tear the brackets out.
Step-by-step fitting
- Hold the lower bracket against the foot of the rear scissor hinge and mark the holes, on both sides.
- Drill a pilot hole with the 1 mm bit, then open it up with the 1.5 mm one. The hole should stay a little narrower than the screw thread, so the screw bites well.
- Screw the lower brackets in with the thicker self-tapping screws and attach the struts at the bottom.
- Raise the roof fully, extend the strut all the way and mark where its end falls on the roof profile. Move the mark 5 mm back, towards the scissor hinge.
- Drill as in step 2 and screw the upper brackets in with the thinner screws, under the aluminium roof profile: underneath there is a layer of metal the screws hold well in.
- Attach the struts at the top: with a bolt and lock nut if you have eyelet ends, by pressing them on if you have ball sockets.
- Open and close the roof slowly several times, checking that the strut never reaches the end of its stroke when closing.
If you want an even stronger fixing, you can also replace the small screws of the aluminium edge near the bracket with screws like the bracket ones, or with bolts and washers.
Results and tips for use
How the roof behaves depends on how much weight is on the roof rack.
| Load on the roof | Opening | Closing |
|---|---|---|
| None | After the first push it rises on its own | The first stretch offers some resistance, then it comes down and stays balanced towards the bottom |
| 10-12 kg (e.g. solar panel) | Opens with one hand | Closes with one hand and also stays put halfway or a quarter of the way |
| 30 kg (e.g. windsurf board) | Rises with effort, which eases as it goes | The last stretch is quite heavy |
The bottle trick: to tidy the roof fabric and the velcro panel calmly with the roof almost closed, you can slip two half-litre water bottles between the inner roof and the T4 roof, near the velcro panel. It works without struts too.
Where to find the parts
Search parts sites or eBay with these terms:
| What | Search terms |
|---|---|
| Gas struts (German) | GASDRUCKDAEMPFER Heckklappe · DÄMPFER GASFEDER HECKKLAPPE Opel Tigra A |
| Gas struts (OE numbers) | 132 726 · 132 733 · 55 35 95-91 |
| Ball stud brackets (English) | 90 degree bend ball stud bracket, standard or reversed |
Alternatively you can order compatible struts matching the data sheet below: strut type 16-2 016 10149, 355 N, length 820 mm, stroke 320 mm, 10 mm ball ends.