
No hot air from the vents: sealing the heater flaps
Cold air from the dashboard vents and heat only at your feet? The air often escapes through the holes in the heater flaps, which can be sealed with adhesive foam tape without removing the dashboard.
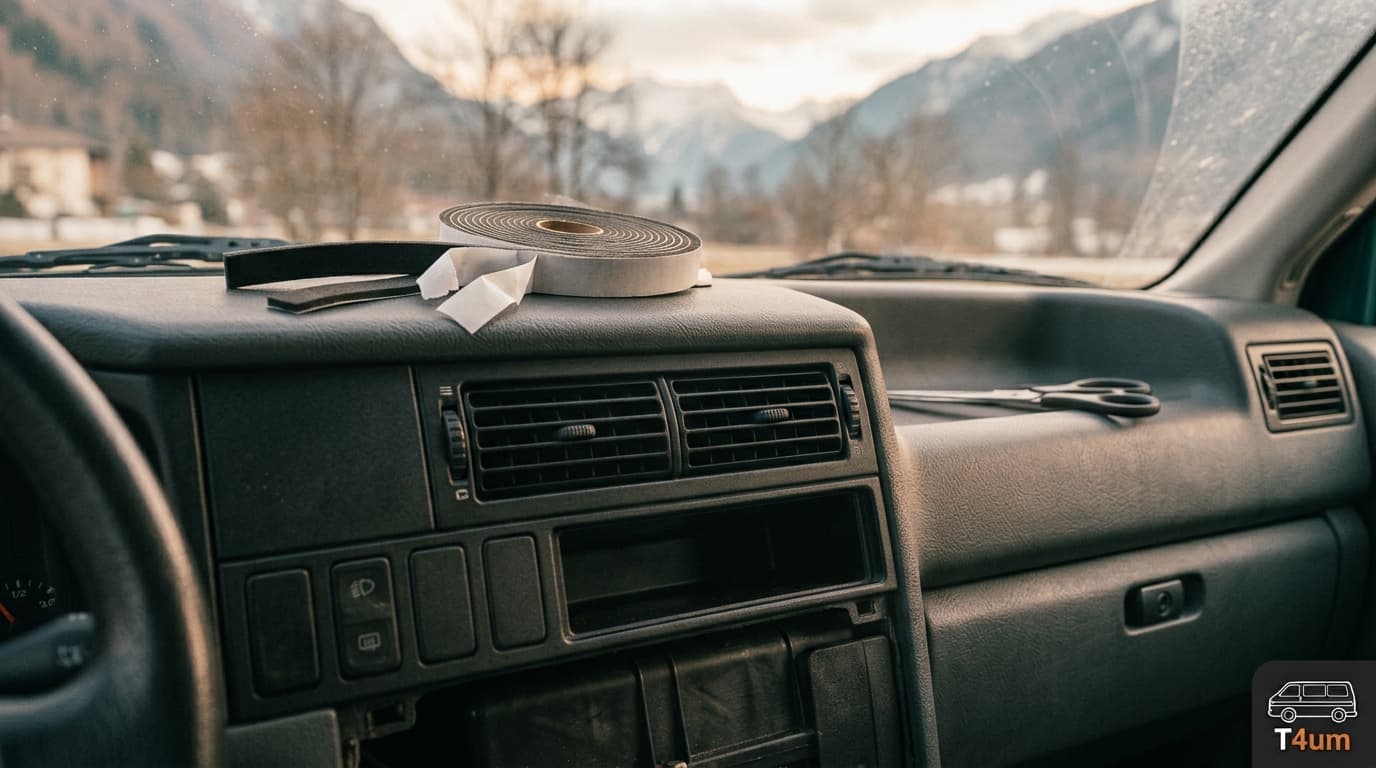
If only cold or lukewarm air comes out of the dashboard vents, and a little heat reaches only your feet, the problem may be the flaps inside the heater box. With about ten euros of adhesive foam tape and plenty of patience they can be fixed without removing the dashboard.
Through the holes in the flaps the hot air can take the wrong route, so it reaches the vents cold. Liviu fixed it by reaching into the heater box and sealing the holes by feel with strips of adhesive foam tape. The result, measured with a thermometer in the vents, speaks for itself:
| Temperature set | Temperature measured at the vent |
|---|---|
| 24 °C | 36.1 °C |
| 27 °C | 42.6 °C |
| Maximum | Over 45-50 °C |
After almost two years of cold air, heat now comes out of every vent.
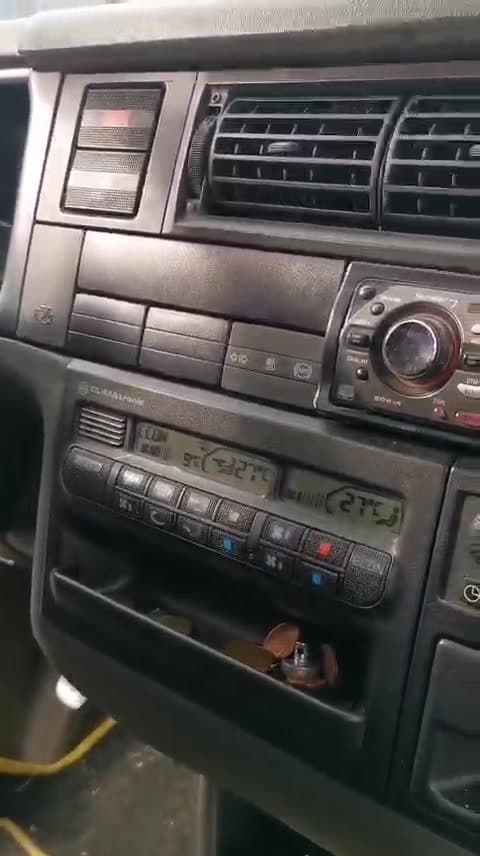
Guide based on the video Liviu Gabor posted on 8 February 2026 in the T4UM Facebook group. Next to each step you will find the matching minute in the video. Thanks to Liviu for sharing his work from the Susa Valley.
Before you start: check the heater hoses
In the video: from about 1:50.
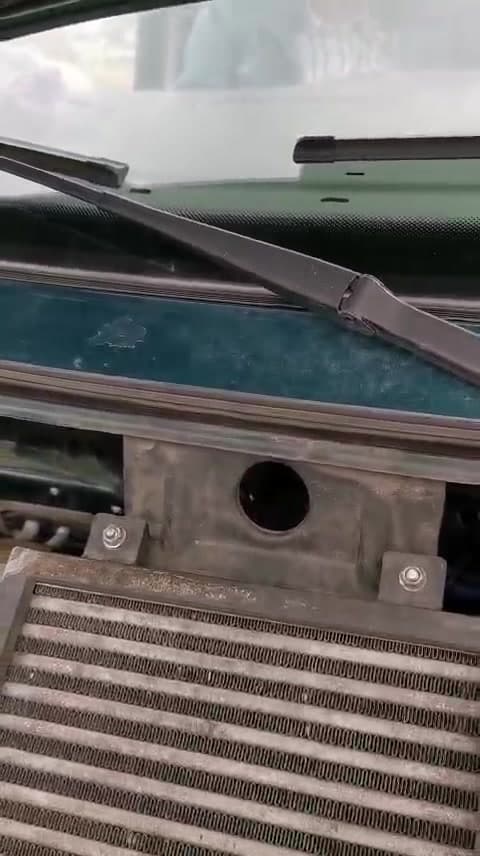
This job only makes sense if hot coolant reaches the heater matrix. With the engine warm, touch the two heater hoses in the engine bay:
- if they are hot, the heater matrix is getting hot coolant and you can go ahead with the guide;
- if they are cold, first bleed the system from the bleed screw, gently, because it is plastic and strips easily;
- if they stay cold even after bleeding, the heater matrix is probably clogged and has to be replaced, which means removing the dashboard. The same goes if the heater matrix is leaking.
At a glance
| Item | Details |
|---|---|
| Model | T4 with Climatronic, as in the video |
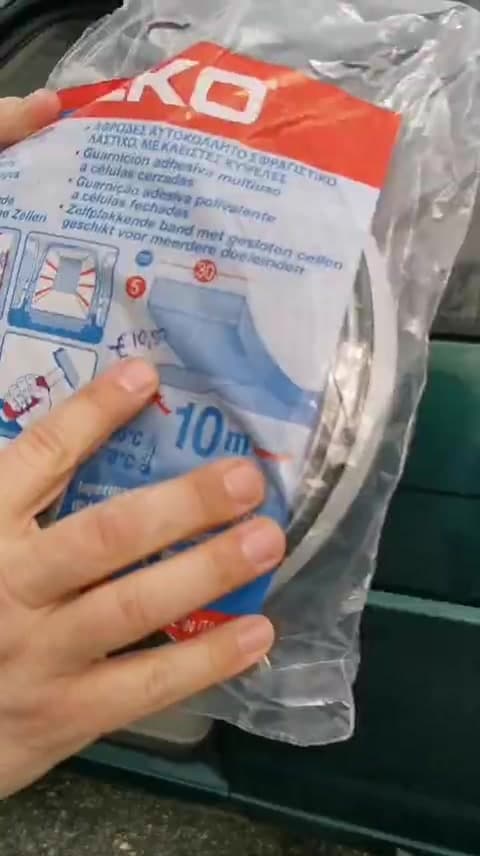
| Material | Closed-cell adhesive foam tape, 3 cm wide and 5 mm thick (in the video a 10 m roll of GEKO, bought for €10.80) |
| Tools | Screwdriver, scissors, a plastic ruler, a torch |
| Time | A few hours, without experience |
| Difficulty | Medium: the work is done by feel, in a tight space |
| How long the fix lasts | Temporary fix, from one to a few years |
What's inside: the two flaps
In the video: from about 7:30, explained with two pieces of card.
Inside the heater box there are two flaps: two perforated doors that rotate to send the air to the different vents. Each one is driven by its own servo motor.
| Flap | What it looks like |
|---|---|
| First | Three large holes; it rotates on itself |
| Second | Longer and bent, a little further in: seven holes in all, three large ones in the middle and two small ones on each side |
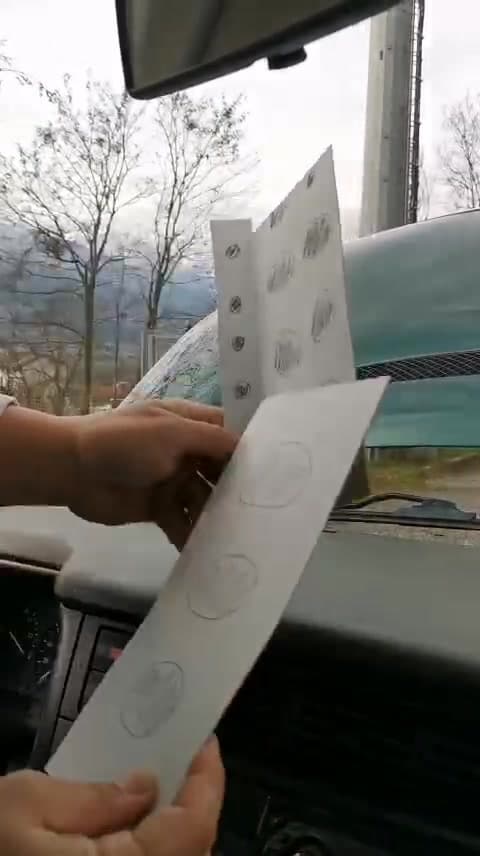
The job is to close all these holes with the adhesive foam tape. Since you cannot see anything inside, you work by feel, using the servo motors to rotate the flaps and reach one row of holes at a time.
Removing the panel and getting in
In the video: from about 3:00.
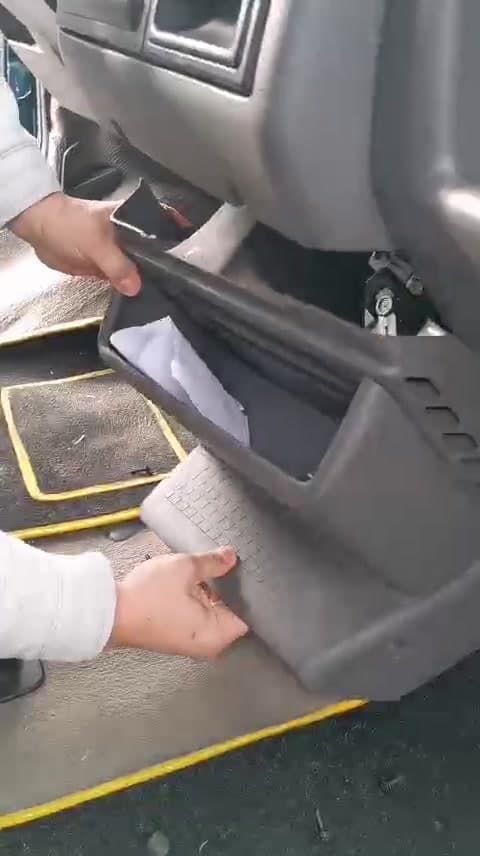
- Remove the lower panel of the centre console. It is held by six screws: four fine-thread metal screws, one coarse-thread plastic screw and another metal one on the opposite side. Keep them apart so that each goes back in its own place.
- Pull the panel out carefully. Behind it is the Climatronic temperature sensor: disconnect it gently and put everything aside.
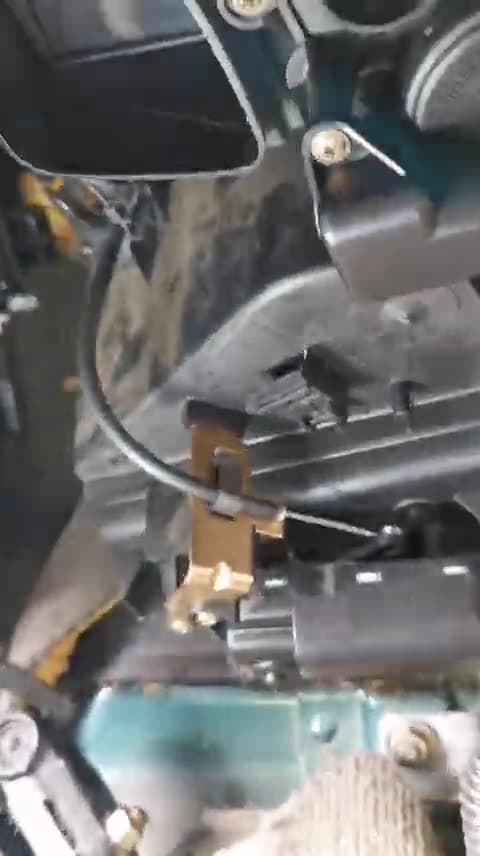
- Lock the access flap open. In the opening of the heater box there is a flap that stays closed in some climate settings. To work comfortably, carefully unhook the control rod of its servo motor: the flap stays open and you can get your hand in.
- Reach in. You go in from below and end up between the two flaps: one hand works on the first, the other on the second. Removing the seat gives you more room.
Sealing the holes
In the video: the material from about 15:00, the technique for applying it from 16:30.
How many strips you need
With 3 cm wide tape:
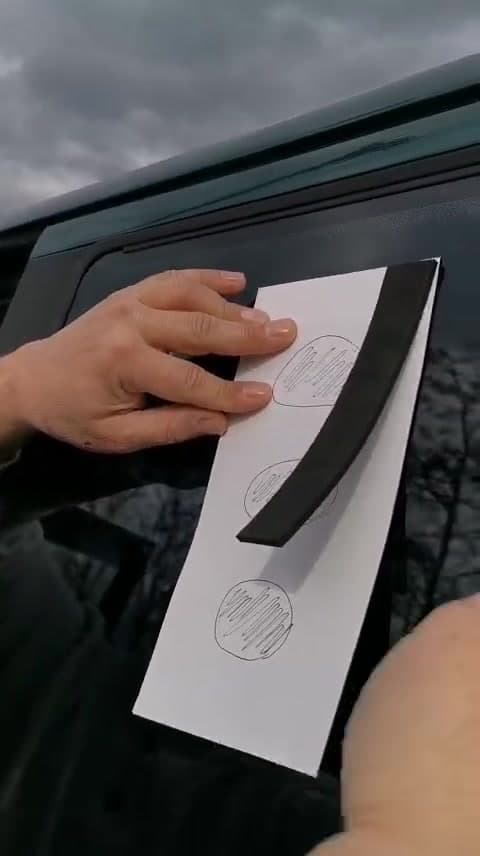
- for the small holes one strip covers a whole row;
- for the three large holes you need two strips side by side.
Cut the strips to length beforehand, judging the size with your hand.
The backing trick
The tape is very sticky: if you put it in uncovered, it sticks to the first thing it touches. Liviu worked out this method after several attempts:
- peel the backing off only a short piece at the start of the strip, cut that piece of backing away and leave the rest attached;
- put the strip in, find the edge of the row of holes by feel and press the exposed end in the right spot;
- pull off the remaining backing. Having been rolled up for a while, the strip stays curved and does not stick straight away;
- reach back in and guide the strip with your fingers, pulling it closer if it is too far away, until it sticks along the whole row.
First flap
Use the servo motor to move the flap so you can reach the holes, close them one row at a time, then bring it back to its stop and press the whole strip down firmly with your fingers.
Second flap
This is the hardest part, because there is little room and you can only reach it with your fingertips.
- Use the servo motor to turn it all the way to one side and first close the row of holes that would otherwise be out of reach.
- Bring it back towards your hand with the servo motor and close the other rows, checking by feel: in the video it took four strips.
- Turn it a little and go over everything again with your fingers so it sticks well.
- Where your fingers cannot press, use a piece of plastic ruler.
Reassembly and checks
In the video: from about 24:00.
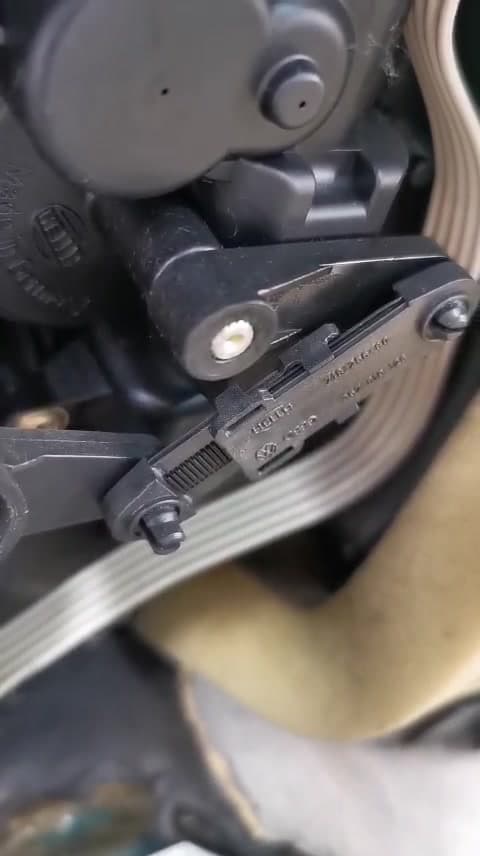
- Reattach the control rod of the access flap. If you cannot, move the servo motor back with the climate controls and try again.
- Check all the servo motors. Try the climate controls and make sure each servo motor moves its flap.
- Refit the panel. First reconnect the temperature sensor, then slide the panel in and put all the screws back.
Final tips
In the video: from about 21:00.
- It is a temporary fix. It can last from one to five years. The permanent repair means removing the dashboard, steering wheel, speakers, glovebox and airbag: a much longer job.
- You can also try a single sheet. A single piece of adhesive insulation, such as Armaflex, cut to size covers several holes at once. The hard part is peeling the backing off a large piece in there, and one flap still needs a strip.
- Protect your hands, especially from the edge of the opening.
The full video
Liviu's video is 26 minutes long and can be watched on Facebook, in the original post in the T4UM group. It is in Italian; the minutes given next to each step help you jump straight to the part you need.