
Fuel and temperature gauges reading wrong: the instrument cluster voltage regulator
Temperature stuck at a quarter and fuel on reserve with a full tank? Often the 10 V regulator in the instrument cluster is to blame, and it costs a few euros to replace.
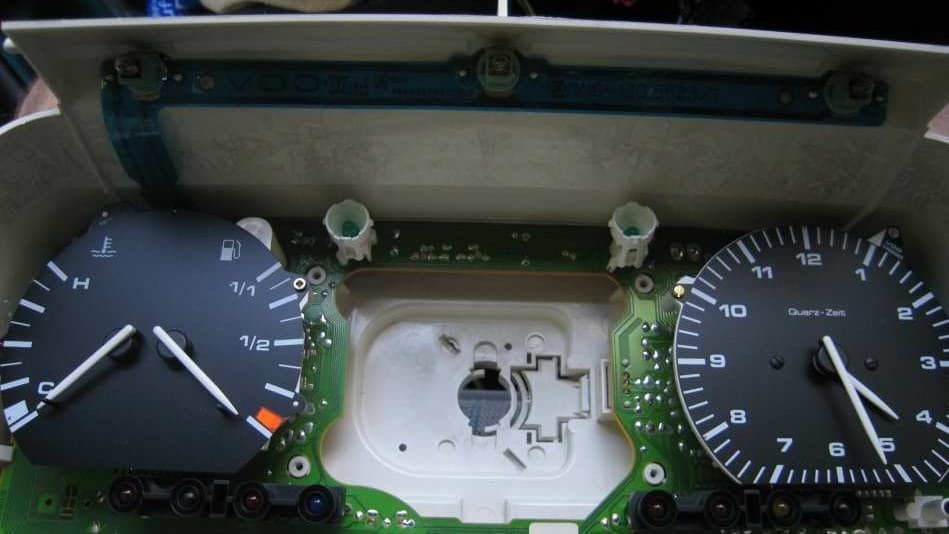
On Raudo's T4 1.9 the fuel gauge and the coolant temperature gauge had started playing up: temperature stuck at about a quarter, summer and winter alike, and the fuel needle on reserve even after putting in 50 euros of diesel. The culprit is the small 10 V voltage regulator on the circuit board of the instrument cluster, and it can be replaced with a part costing a few euros.
Guide based on the tutorial Raudo wrote on 20 June 2009, revised and updated for t4um.it. Thanks to Raudo for writing it up and photographing it step by step.
At a glance
| Item | Details |
|---|---|
| Symptoms | Fuel and temperature gauges both showing wrong readings |
| Part | TS7810 voltage regulator in place of the original TCA700Y |
| Time | About 2 hours |
| Cost (at the time) | €1.75 for the regulator |
| Difficulty | Medium: taking it apart is easy, but you need to be able to solder |
Why the needles are wrong
The part to look at, as the German T4-Wiki also explains, is an ITT TCA700Y voltage regulator. It takes the 12-13.8 V of the electrical system and turns it into a stabilised 10 V, the reference voltage that feeds the fuel level sensor and the coolant temperature sensor.
Both sensors are resistive, so their readings depend on that reference voltage. If the regulator ages and no longer delivers exactly 10 V, the trouble starts:
- temperature always around a quarter of the scale, summer and winter alike;
- fuel in the reserve zone even with a freshly filled tank.
The replacement part
The TCA700Y is out of production and, when you can find it, costs around €10. There is also a VW spare part, but there is a cheaper route: a TS7810 regulator, the low-dropout version (about 2 V, against 3 V for the classic LM7810). That means it works fine with just 12 V in and still gives a stable 10 V out.
| Feature | TCA700Y (original) | TS7810 (replacement) |
|---|---|---|
| Output voltage | 10 V | 10 V |
| Maximum current | 0.22 A | 1 A |
| Mounting | Plugged into a small socket | Soldered in with two wires |
| Price | About €10, if you can find it | €1.75 in electronics shops (at the time) |
Parts and tools
- TS7810 voltage regulator.
- 24 mm spanner for the steering wheel nut: Raudo stands an open-ended spanner upright, as if it were a socket, and levers it with a second spanner.
- Short and very long Phillips screwdrivers, a Torx screwdriver and small electronics screwdrivers.
- Soldering iron, solder and two short lengths of wire.
- Silicone grease (thermal paste) for the heat sink.
Removing the instrument cluster
1. Remove the steering wheel and the shroud. Undo the steering wheel nut and pull off the wheel, then undo all the Phillips screws under the shroud around the steering column.
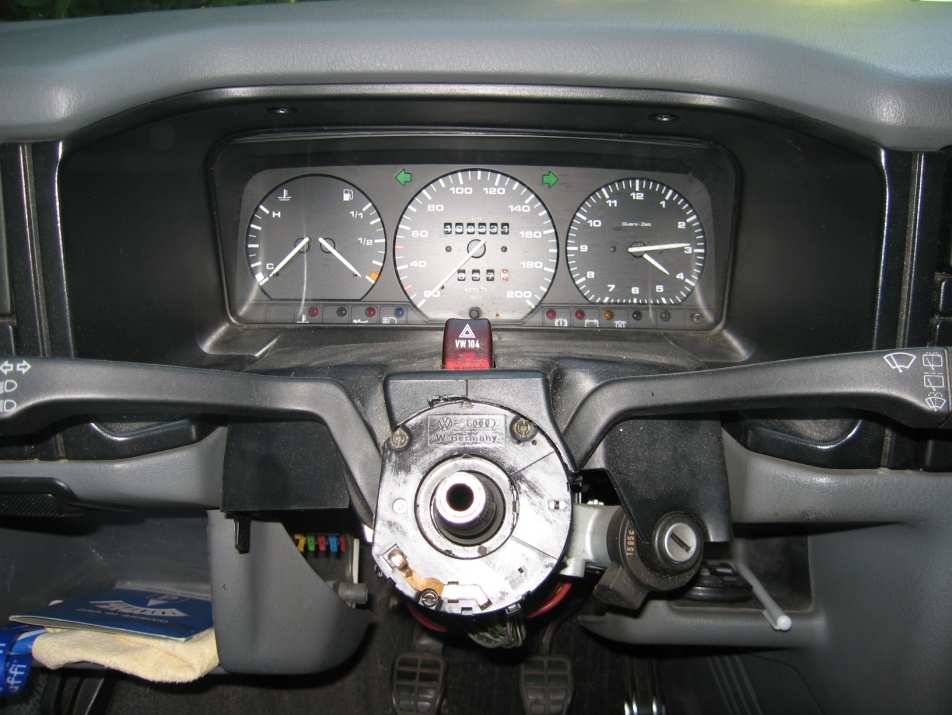
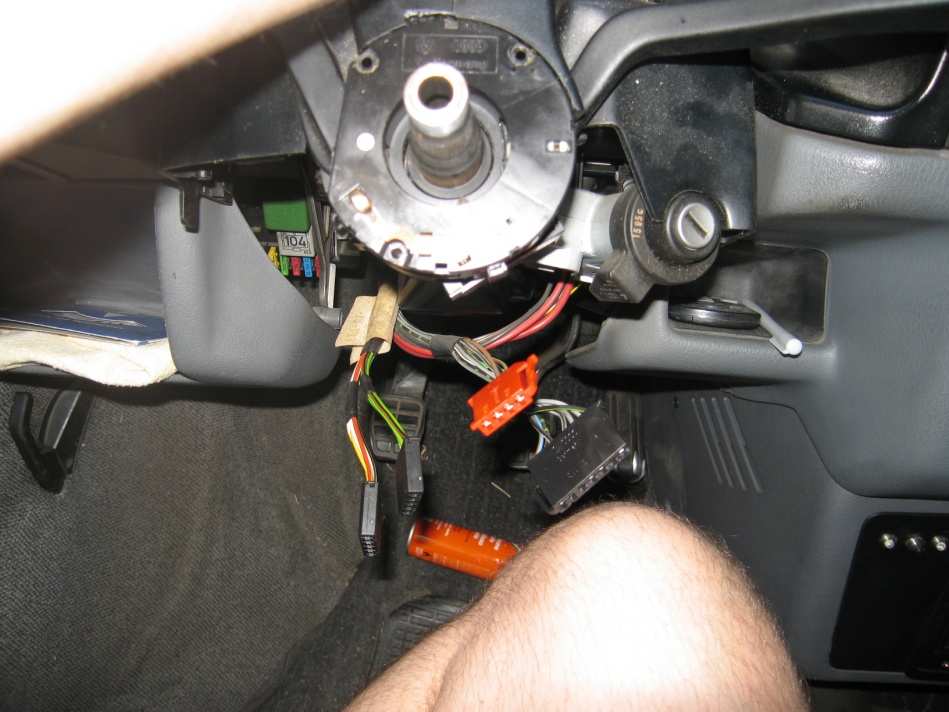
2. Unplug the connectors and the stalk switch unit. The connectors are all different, so you cannot mix them up when refitting. Also undo the 3 Torx screws that hold the stalk switch unit.
3. Remove the cluster surround. Undo the surround screws with a short screwdriver, then pull it out: it takes a firm tug. In the photo the stalk switches and the upper shroud are still in place.
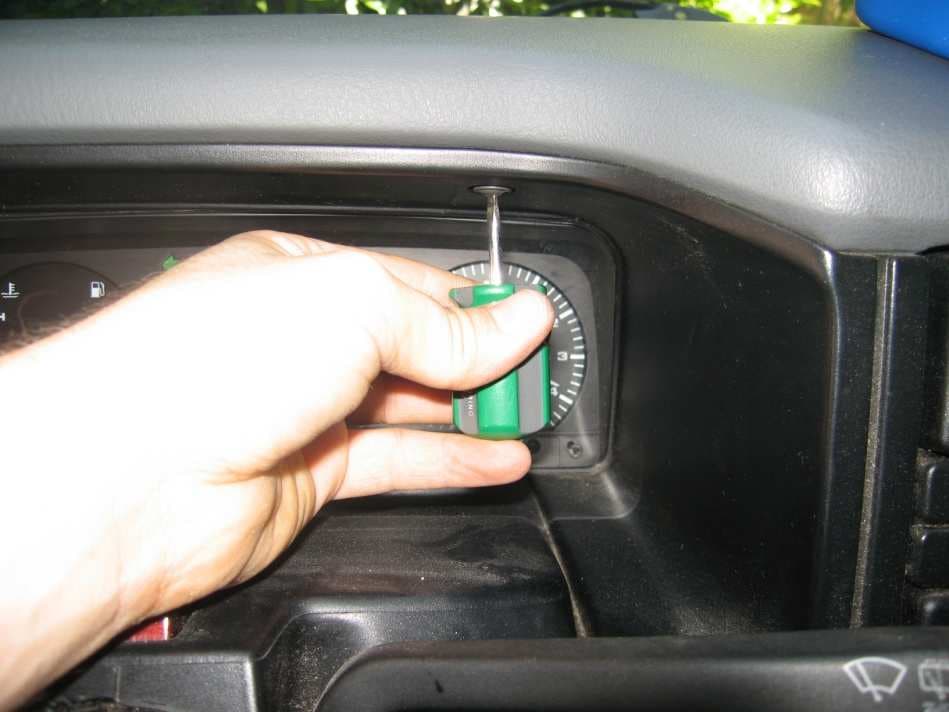
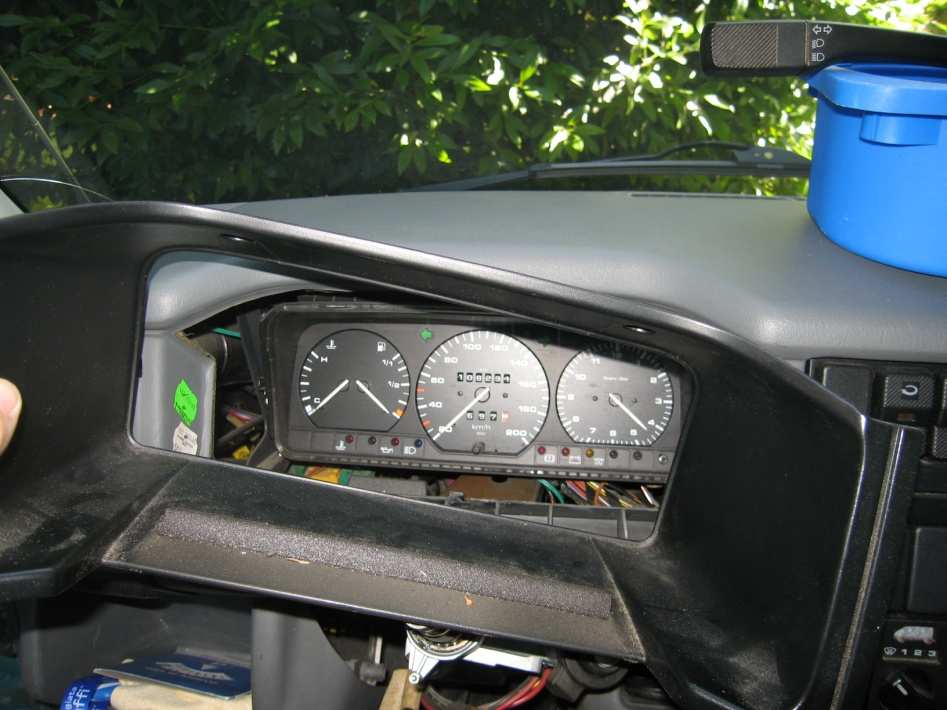
Here is the instrument cluster, ready to come out.
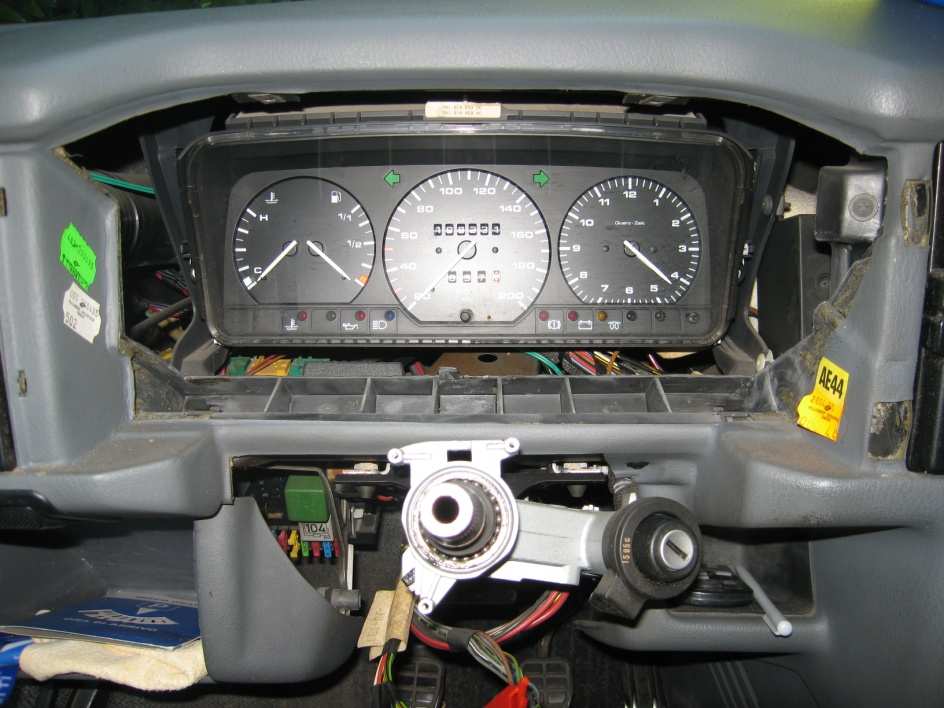
4. Release the instrument cluster. With a very long screwdriver undo the 2 Phillips screws that hold the 2 white clips. The connector and the speedometer cable then come off easily.
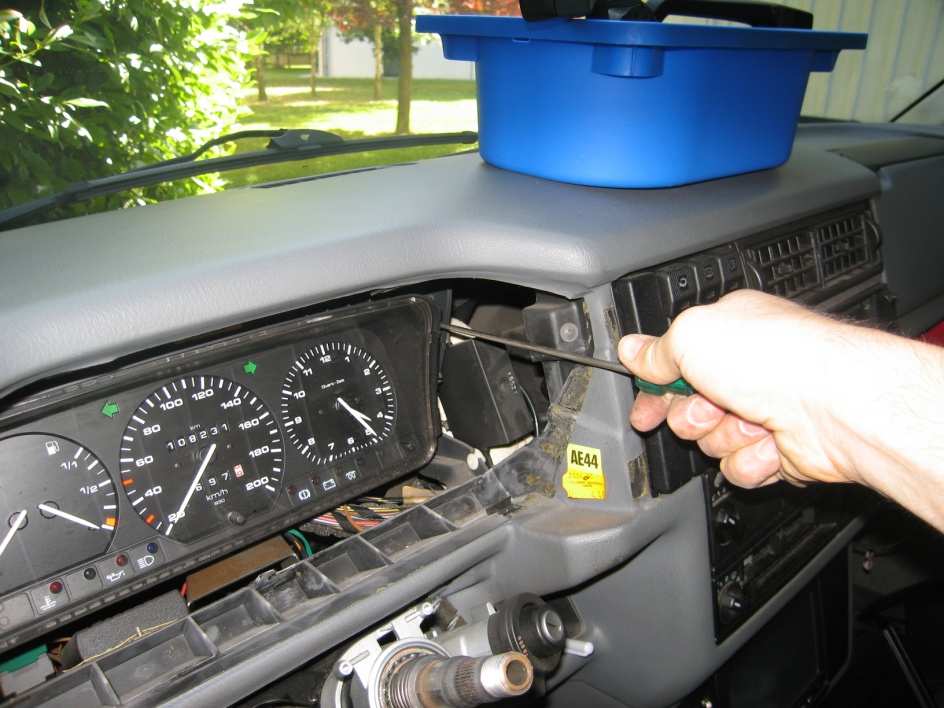
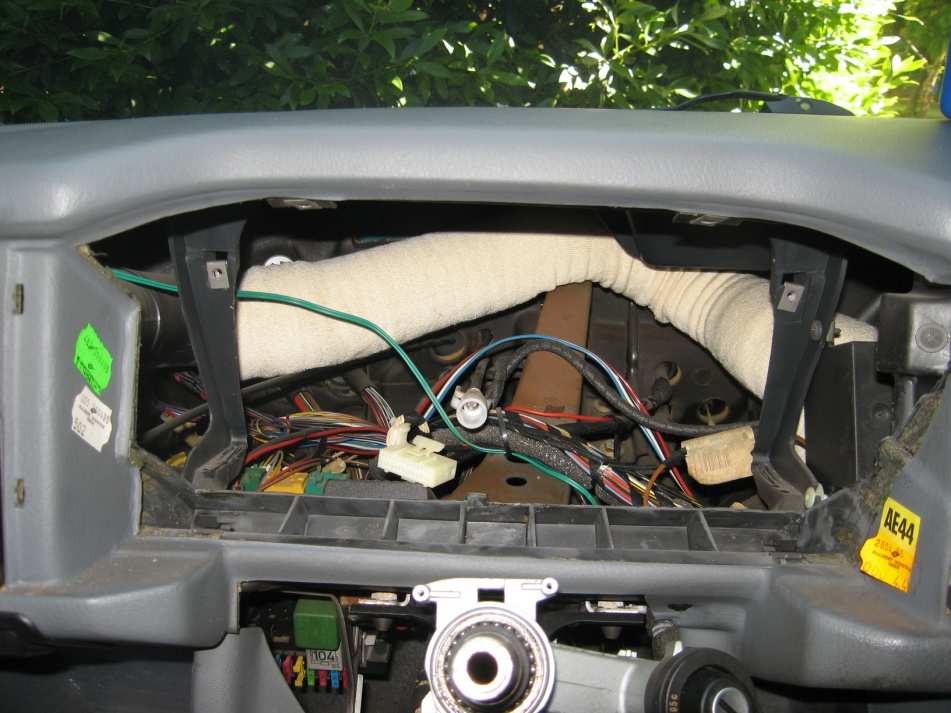
On the back of the cluster there is even what looks like the factory inspection label.
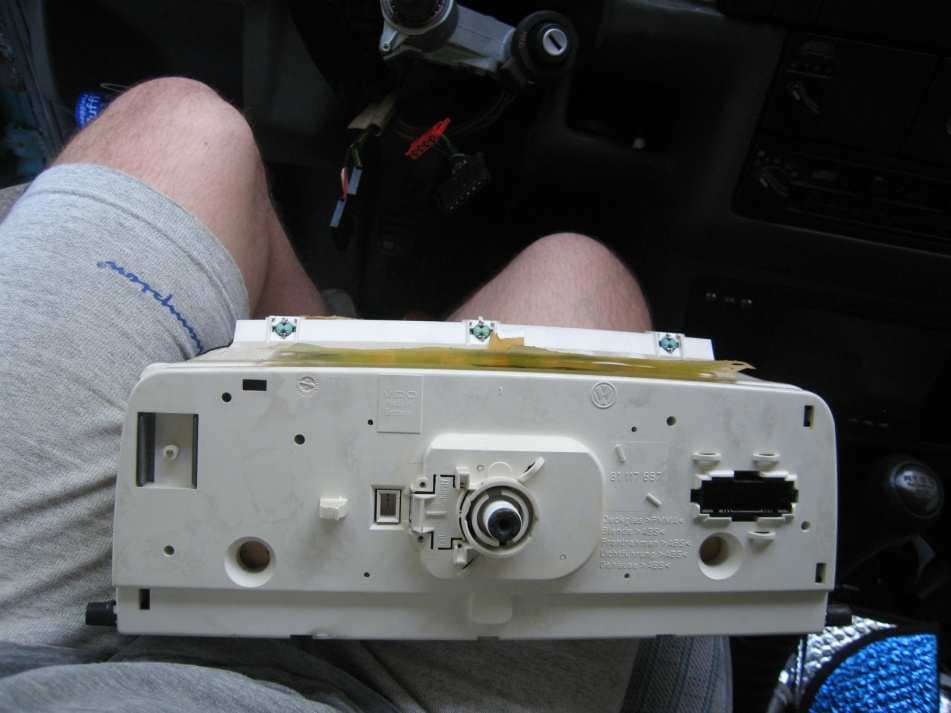
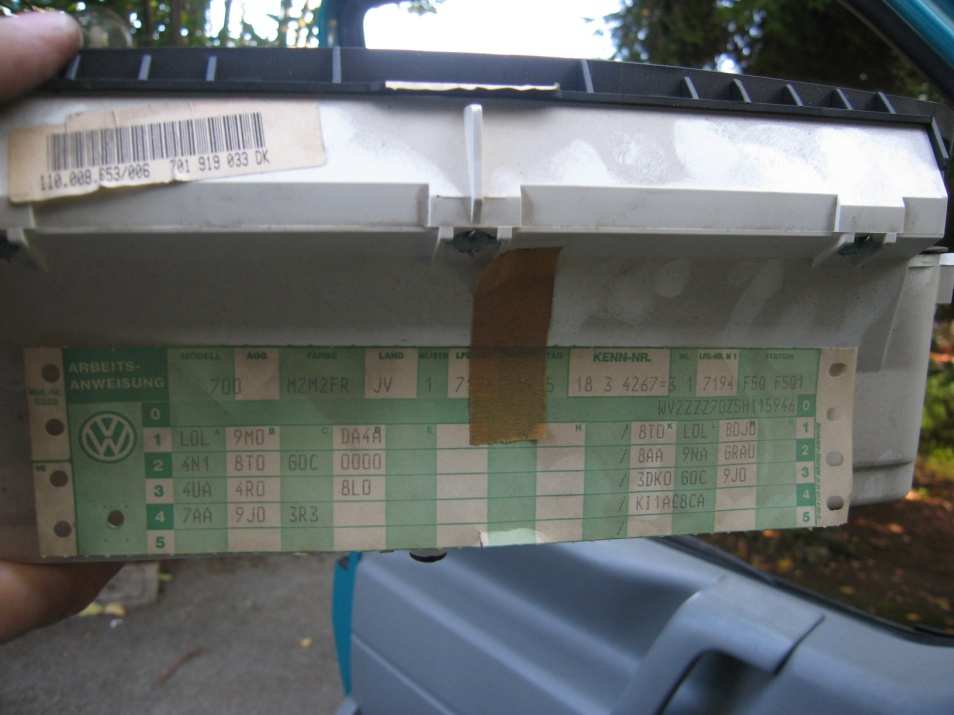
Opening the instrument cluster
5. Remove the front. Undo the two screws on the back and take off the front: the clear cover and the three-dial mask.
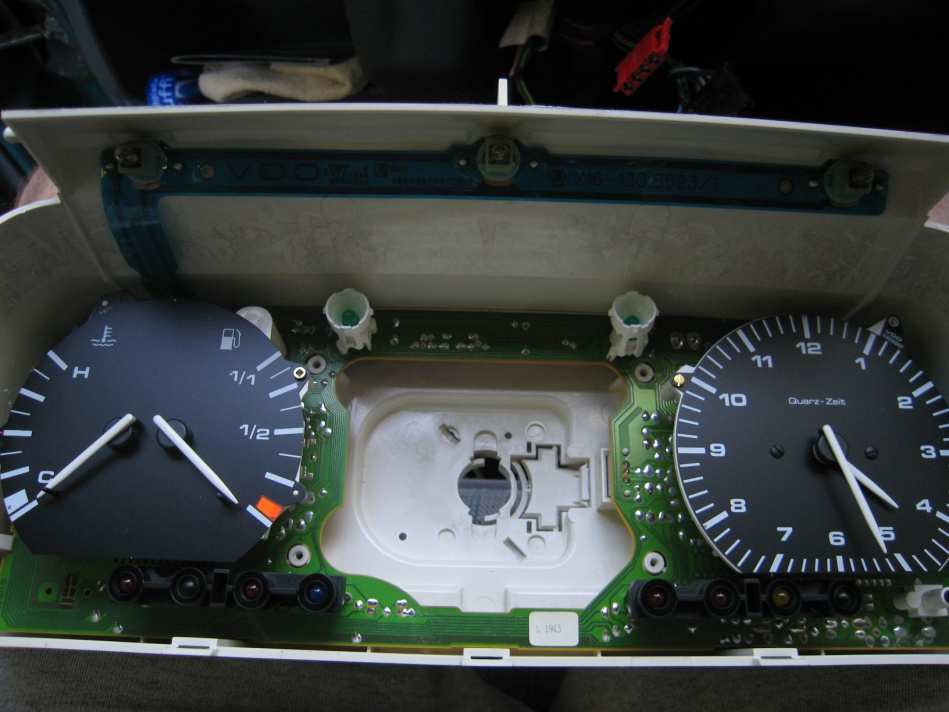
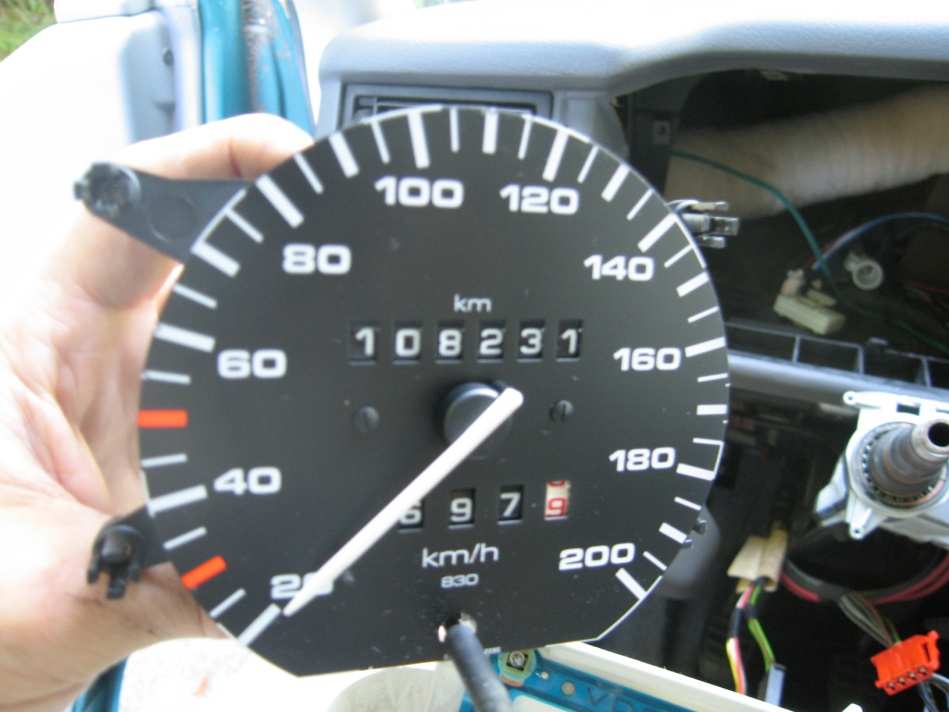
6. Remove the speedometer. It only takes four screws. The VDO screws stay captive in the part, so they cannot get lost.
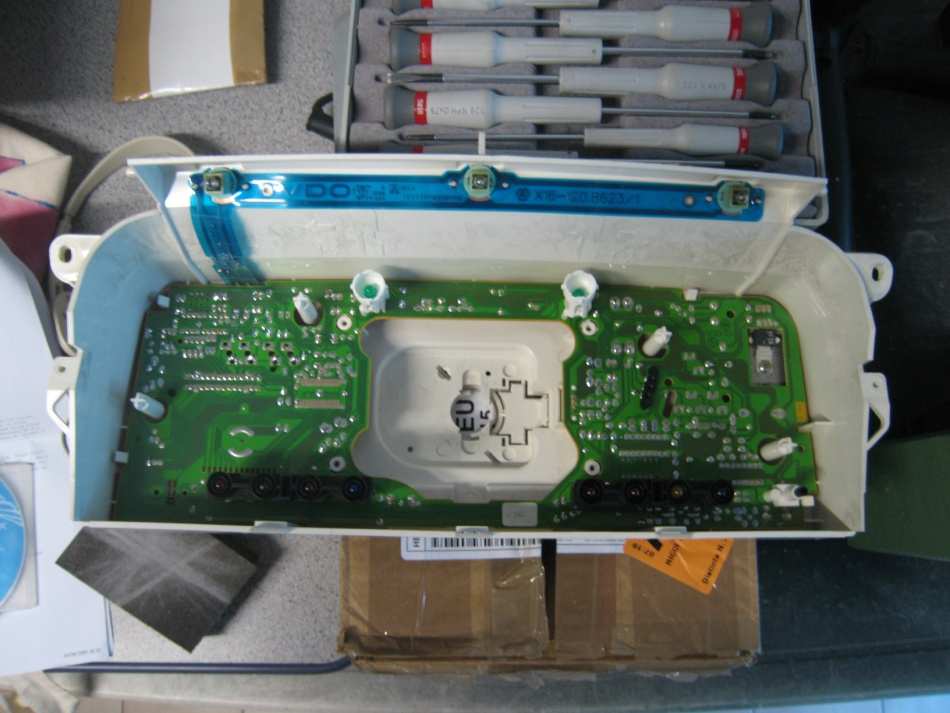
7. Free the circuit board. The clock and the temperature gauge simply pull out. Undo the screw of the regulator, the chip screwed down on the right, then use a small screwdriver to ease open the plastic tabs holding the board: first the ones near the black connector, then the white ones one by one, 6 or 7 in all. Once the board lifts on one side, the rest comes away easily.
Replacing the regulator
The original regulator is not soldered: it is plugged into a small socket. The TS7810 instead has to be soldered to the board with two short wires, so it can be screwed back onto the heat sink like the original. Before soldering, measure the position of the hole, because the regulator’s tab has to line up with the heat sink screw.
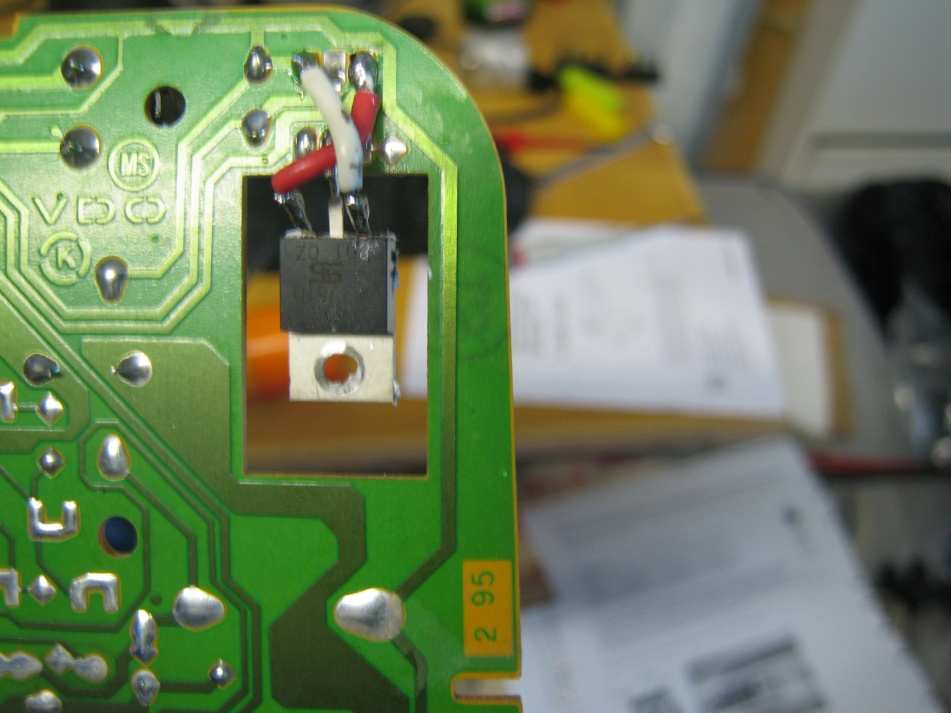
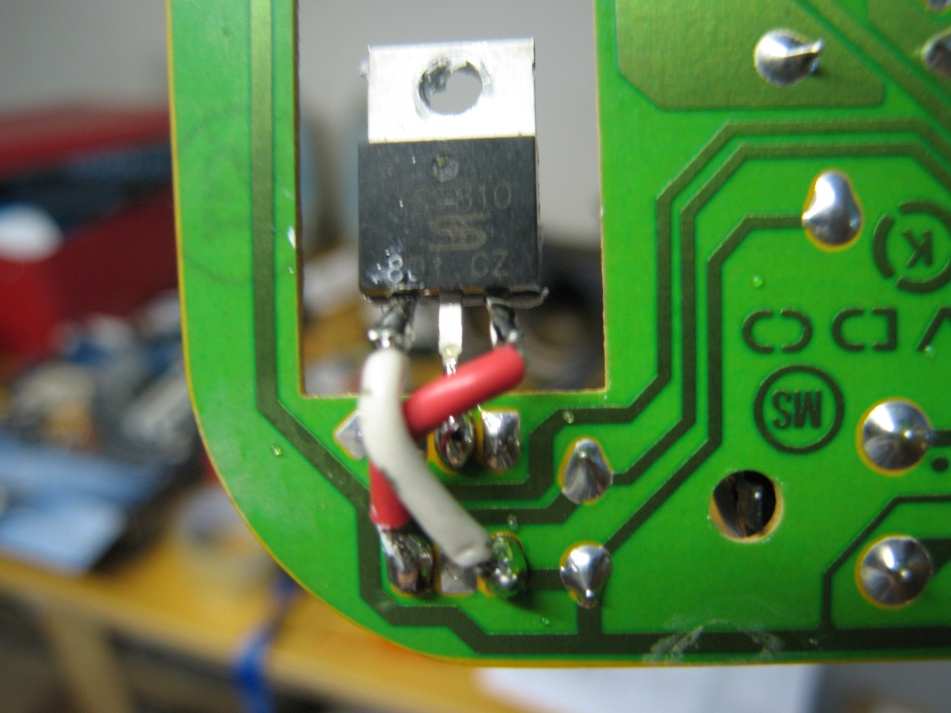
Put a thin layer of silicone grease between the regulator and the heat sink to improve heat transfer.
Putting it back together
Reassemble everything in reverse order and reconnect the battery: the fuel and temperature needles read correctly again. Total outlay: €1.75 for the regulator and about two hours of work, without stopping to take photos.